Introduction
- Thank you for choosing the POVConnect web. We are pleased to have you with us. Enclosed is the documentation to help you set up and launch the app easily. Please read it carefully, as it contains important information. If you need any assistance or have questions, our support team is just a message away.
Firebase Setup for Web
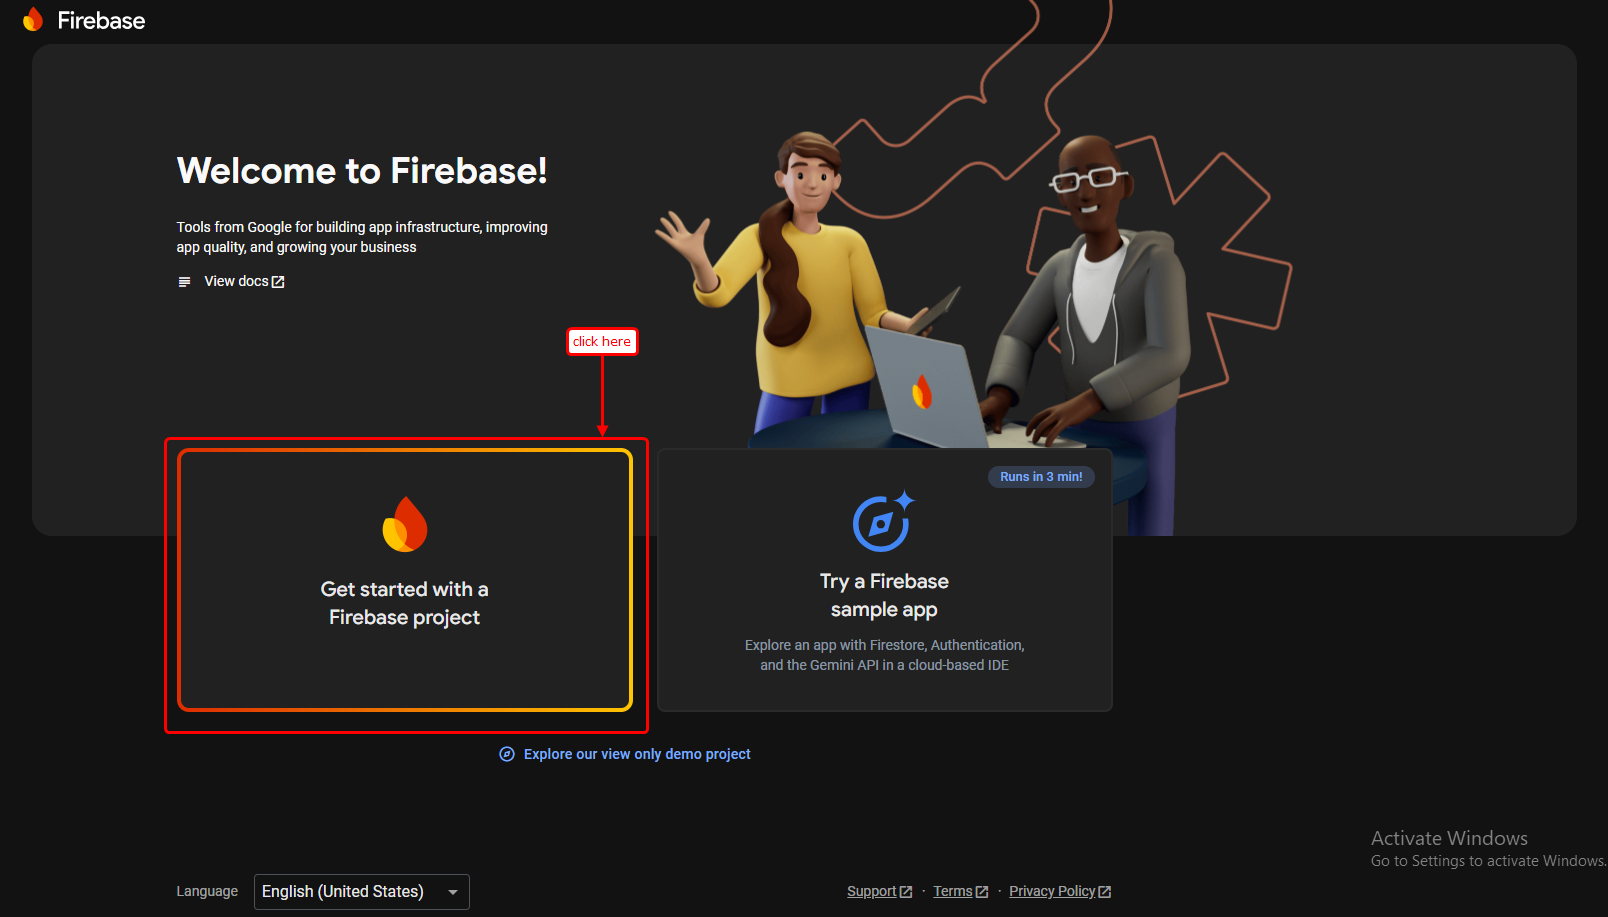
Step 1: Create a Firebase Project
- Create a project at Firebase Console.
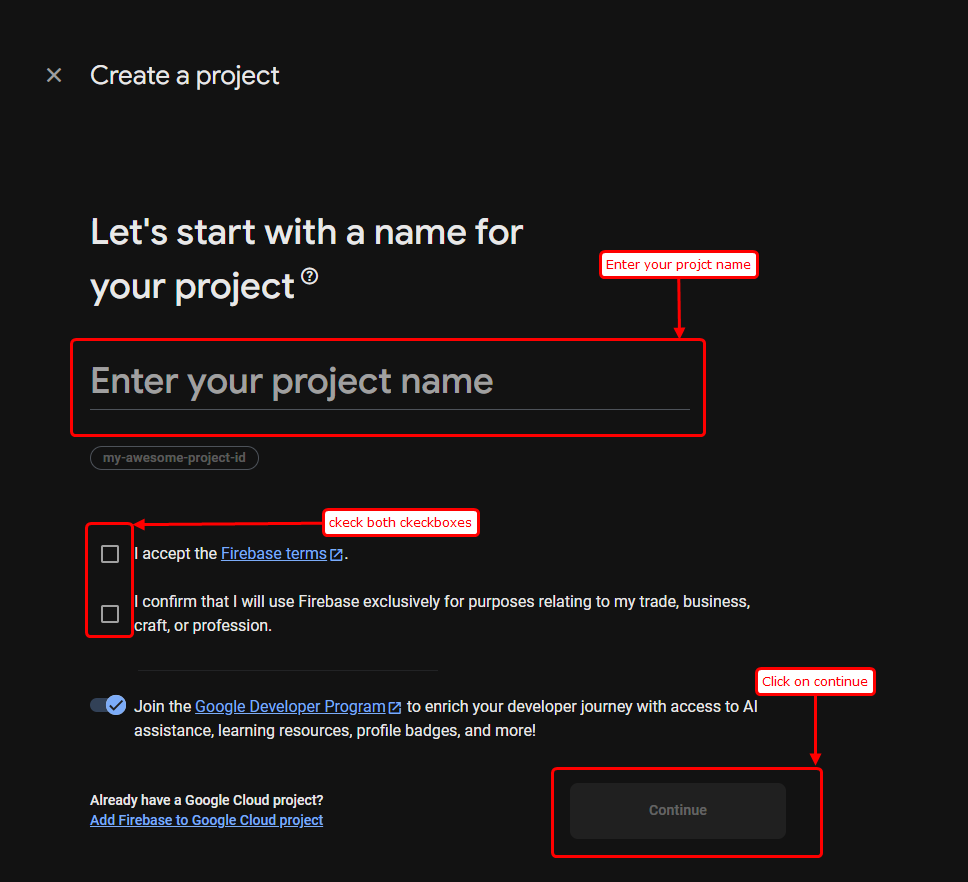
Step 2: Enter Project Name
- Enter your project name and click on Next.
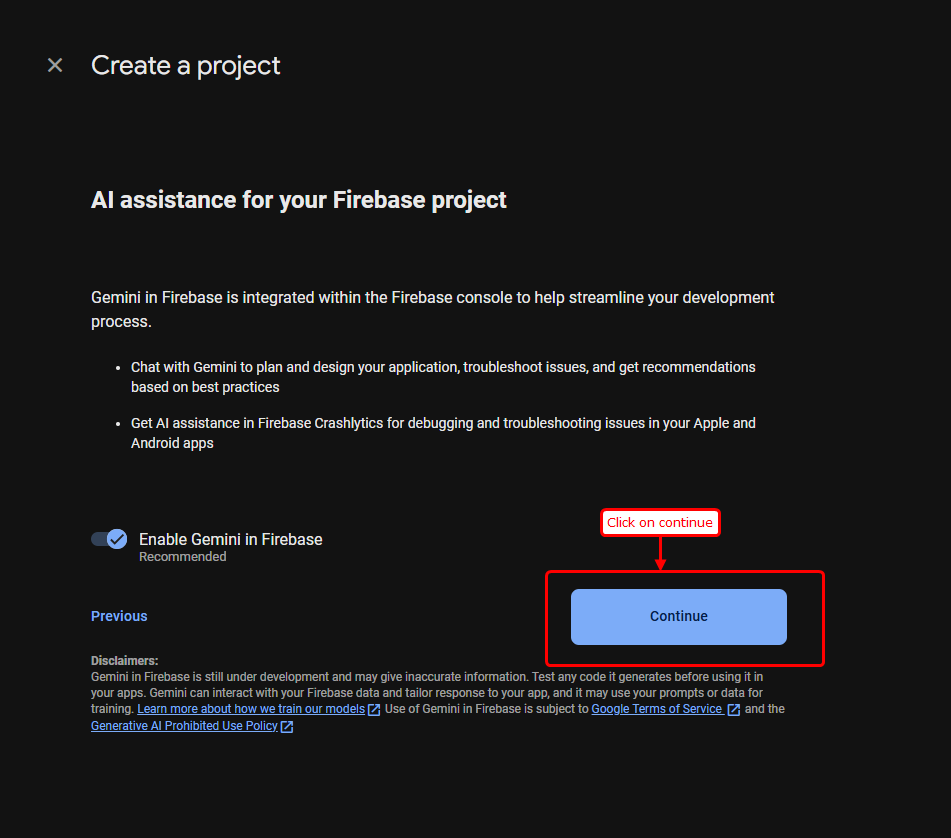
Step 3: Continue
- Click on the Continue button.
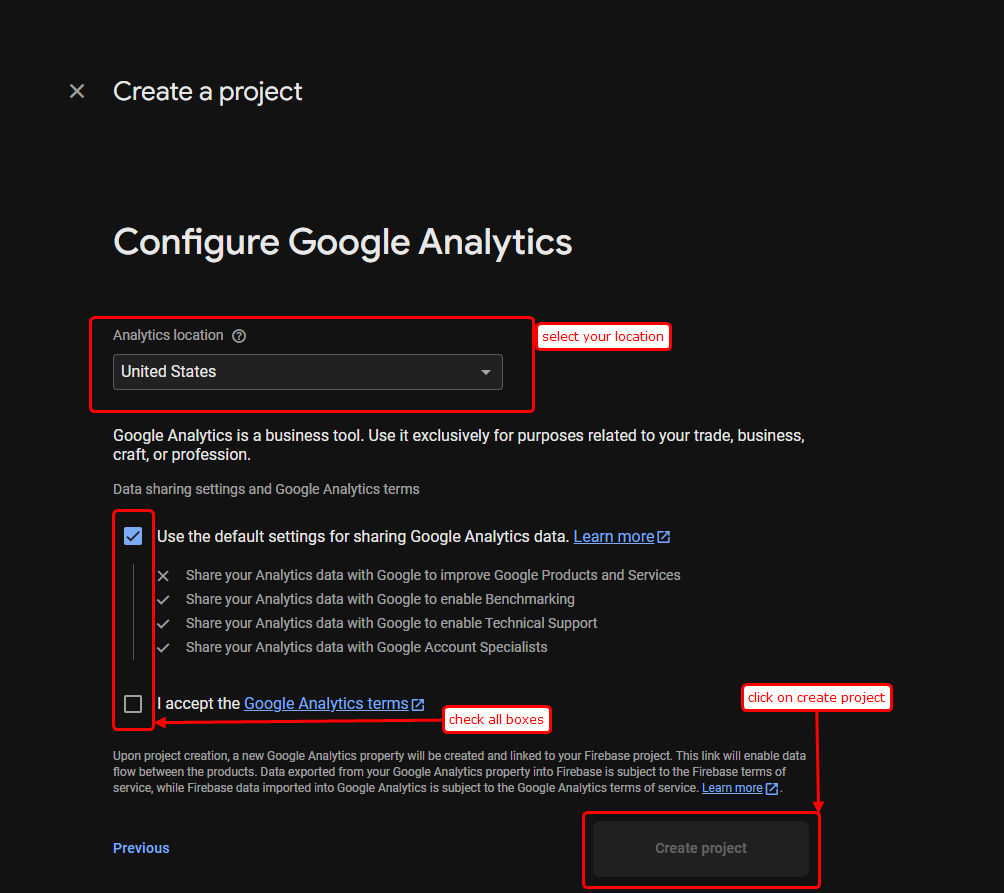
Step 4: Select Location
- Select your location and then create the project.
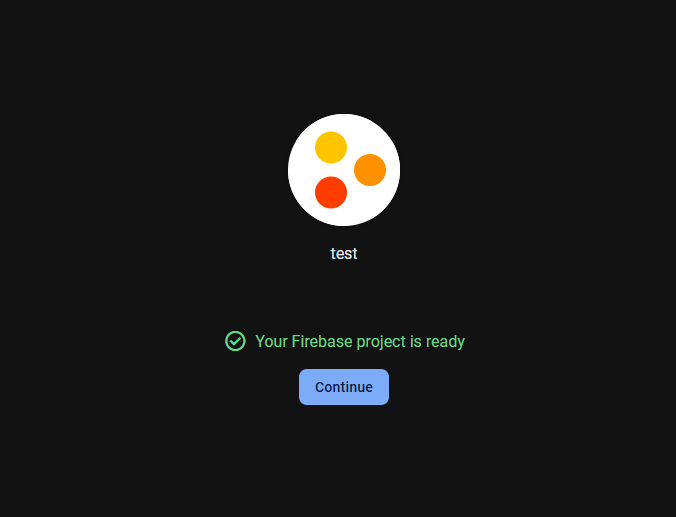
Step 5: Project Created
- Your project will be created successfully.
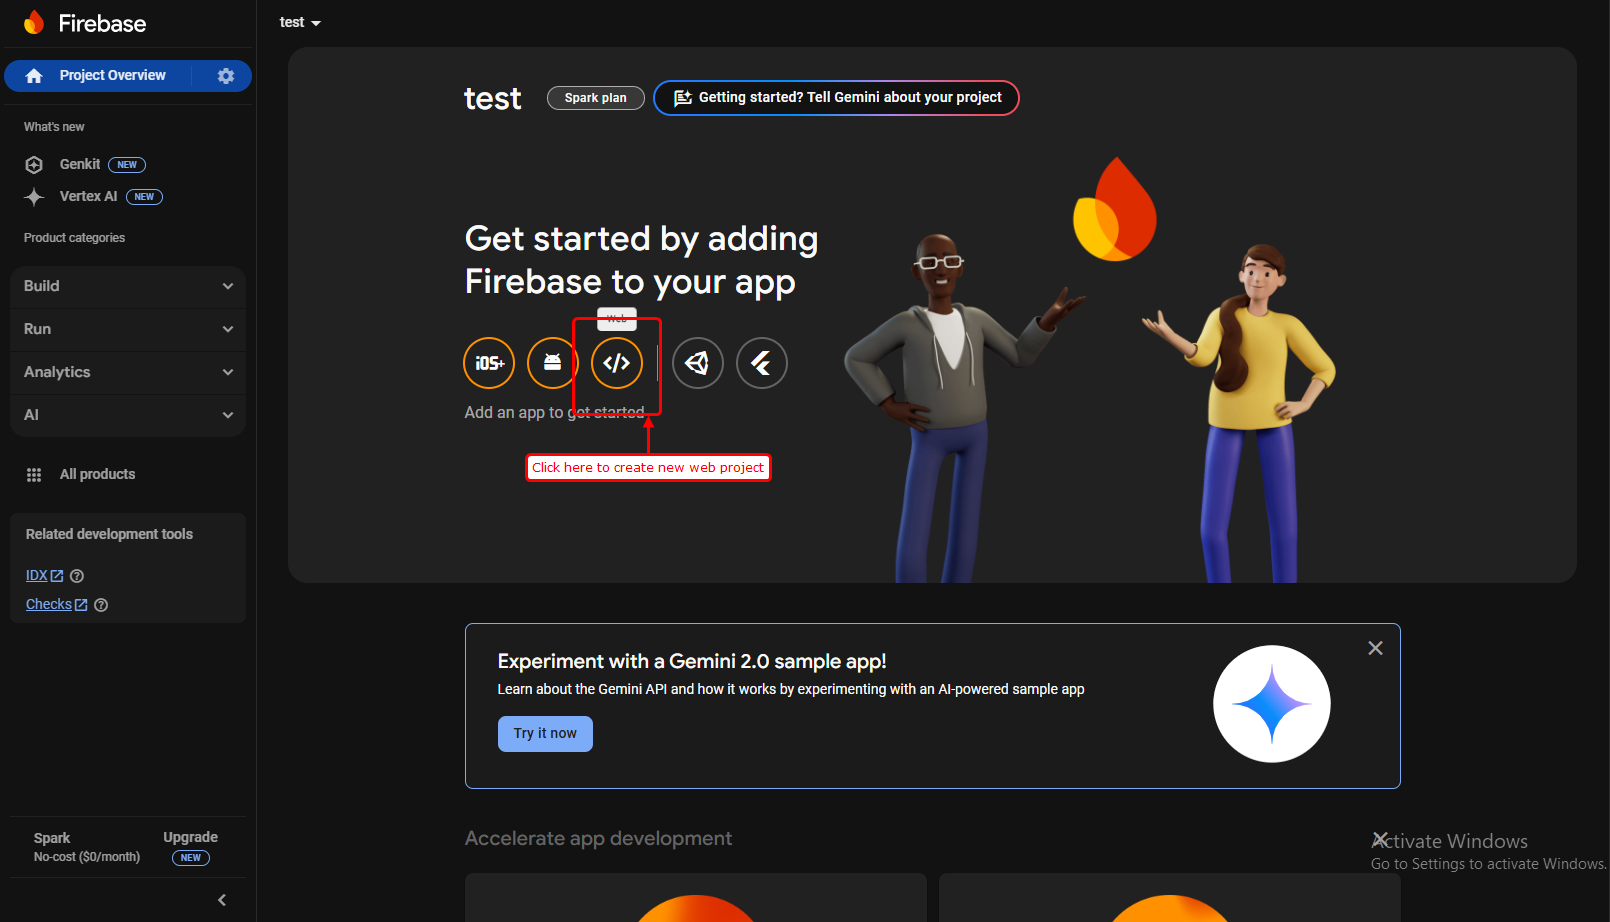
Step 6: Add a Web App
- You will see your Firebase console dashboard. Click on Web to create a new web project.
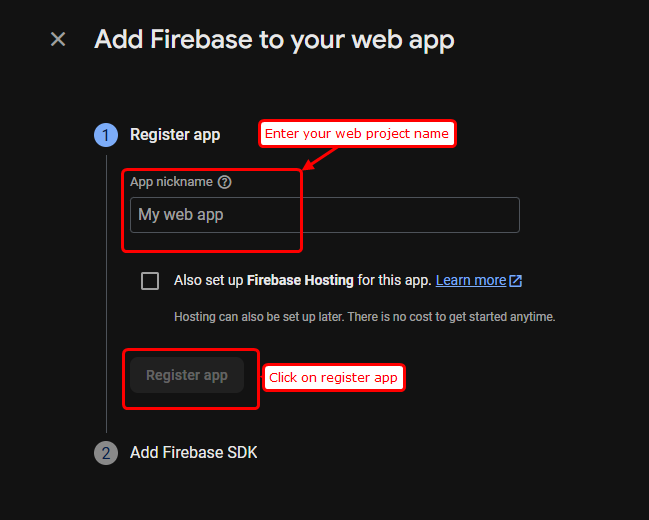
Step 7: Register Web App
- In the next screen, enter your web project name and click on Register App.
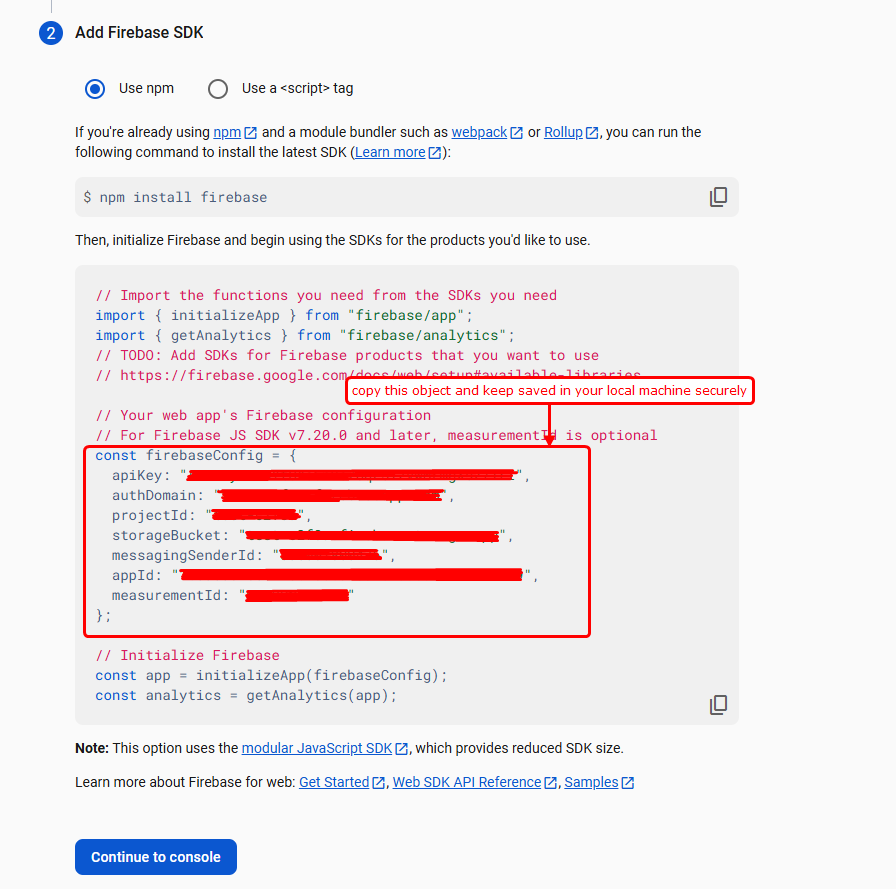
Step 8: Copy Firebase Config
- Add a new Web app and copy the Firebase config object.
- Keep this copied object saved on your local machine and click on Continue to Console.
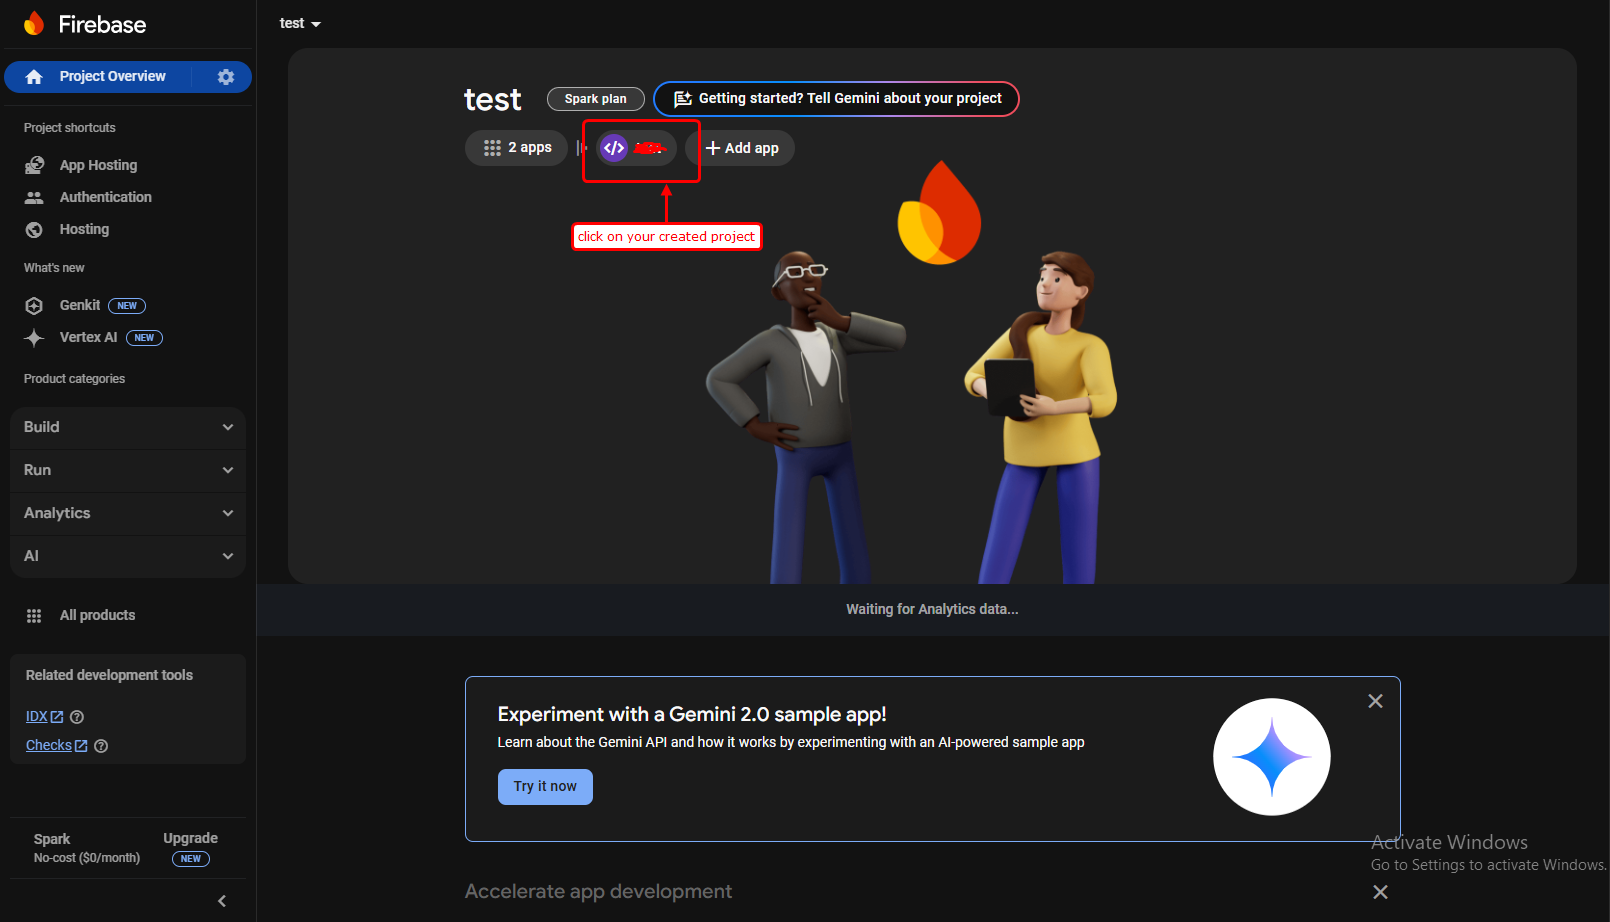
Step 9: Project Settings
- Click on your created project and go to Settings.
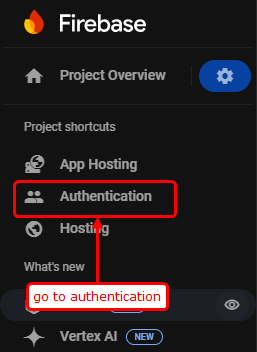
Step 10: Authentication Tab
- Go to the Authentication tab.
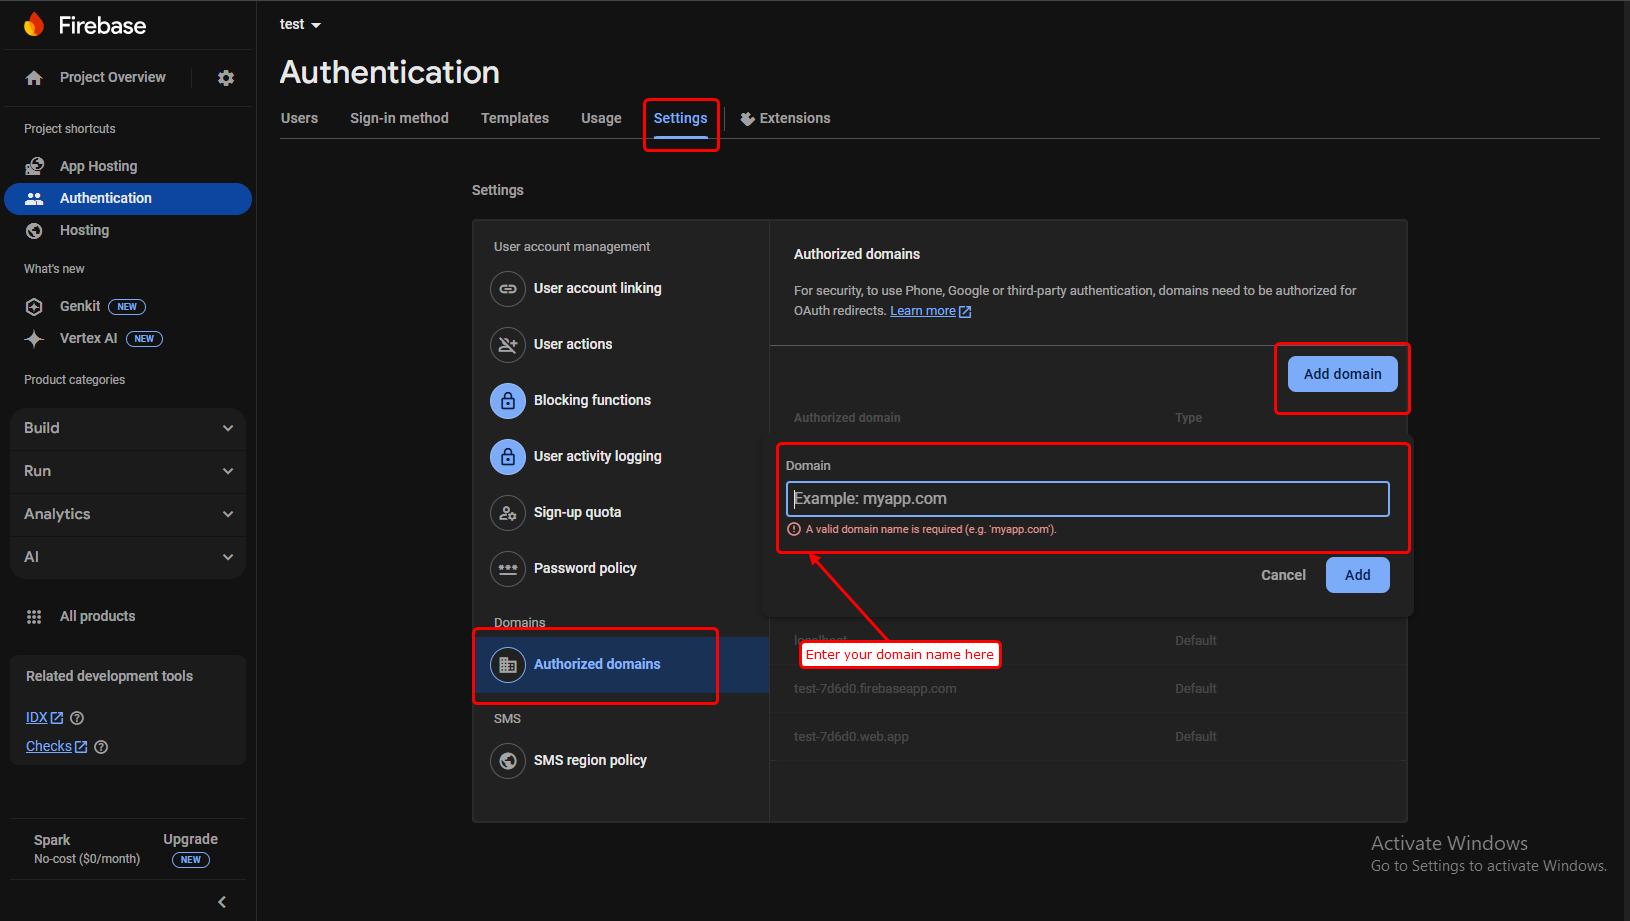
Step 11: Add Domain
- Enter your domain name in Firebase.
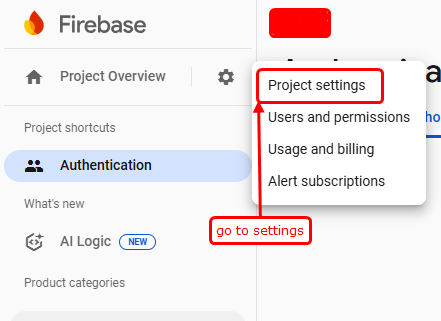
Step 12: Project Settings for Notifications
- Go to Project Settings.
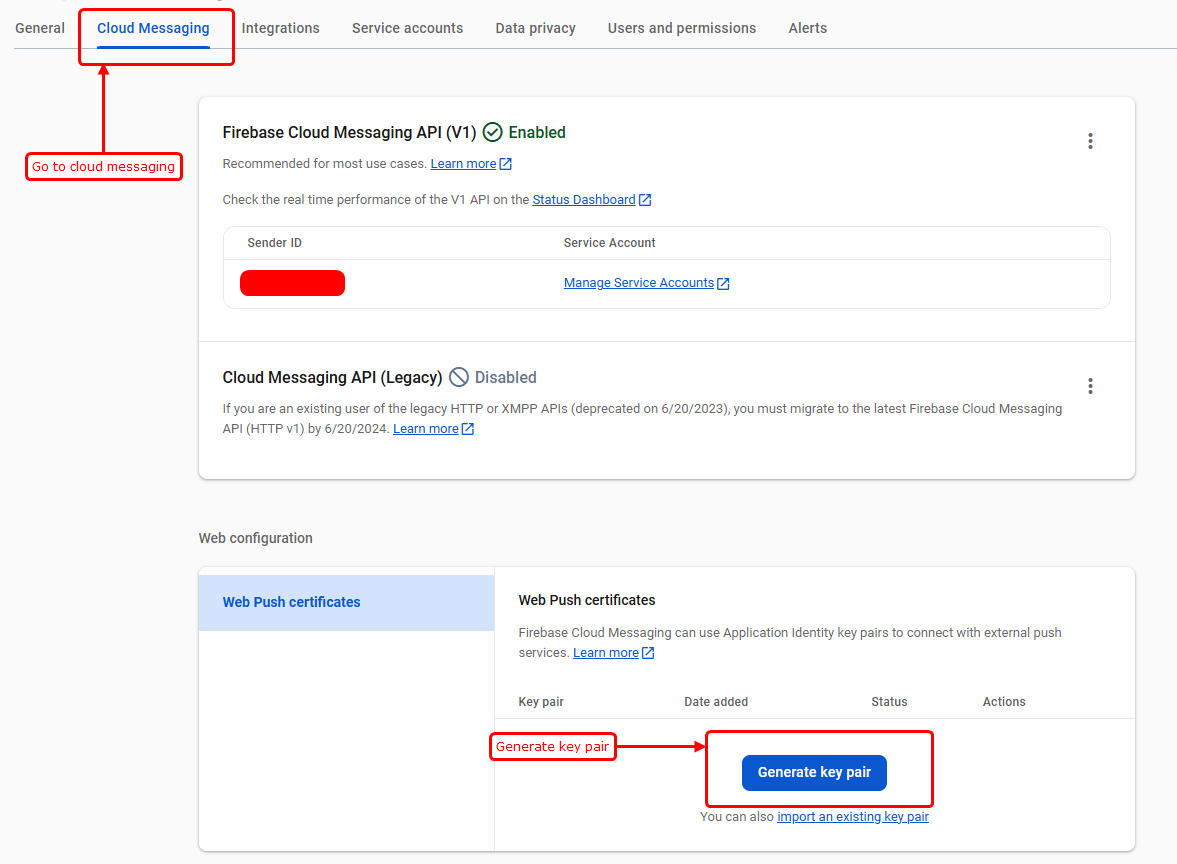
Step 13: Generate Key Pair
- Generate a key pair for Notifications.
- You will see the key pair. Copy it and save it on your local machine.
Change Name and Favicon
Step 1: Navigate to src/app
- Open the project, navigate to src/app, and save the changes.

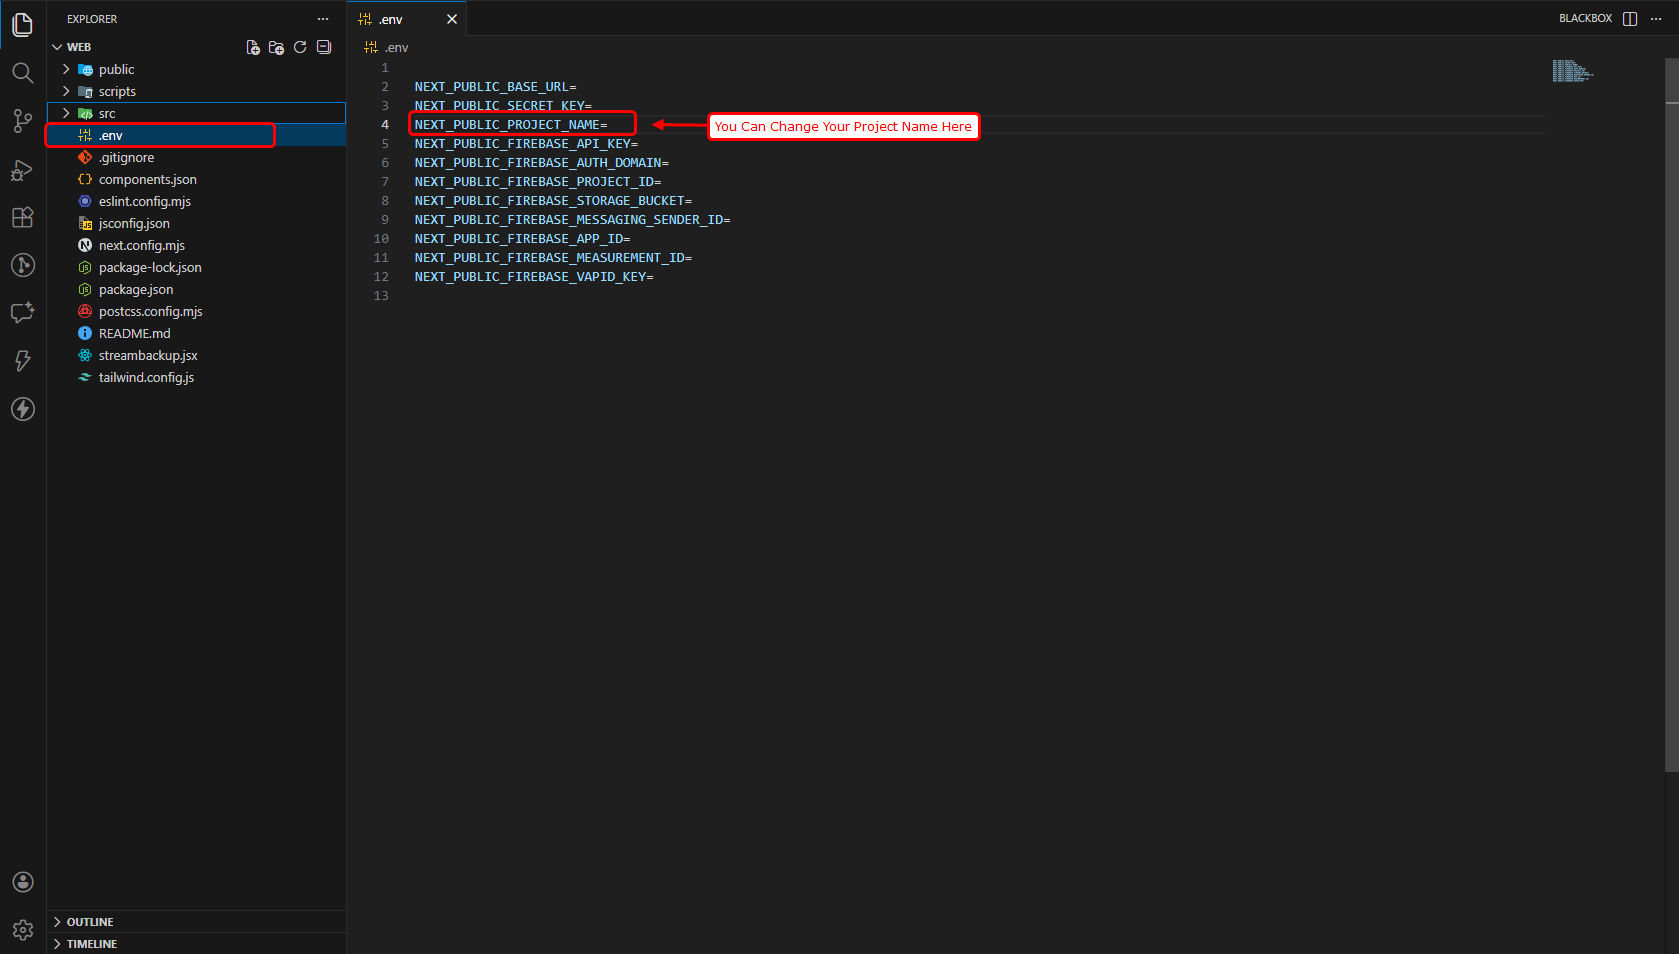
Step 2: Update Project Name
- Open the .env file in your project and replace the value of NEXT_PUBLIC_PROJECT_NAME with your own project name, as shown in the screenshot.
- If any favicon, logo, or name is changed or newly added, please upload a new build to the server.
How to Build & Deploy
- Navigate to the web frontend project directory on the server.
- Generate the production-ready build by executing the command:
npm run build - Verify the frontend service status using:
pm2 status - Restart the service to apply the latest changes by running:
pm2 restart <service-name> - The deployment has been completed successfully. Please review the live site.
Support
- If you face any issues with the code, please contact here for support: https://wa.me/+639276580718
- Our technical team will review your request and respond within 24–48 hours.
- Thank you for your patience and cooperation.